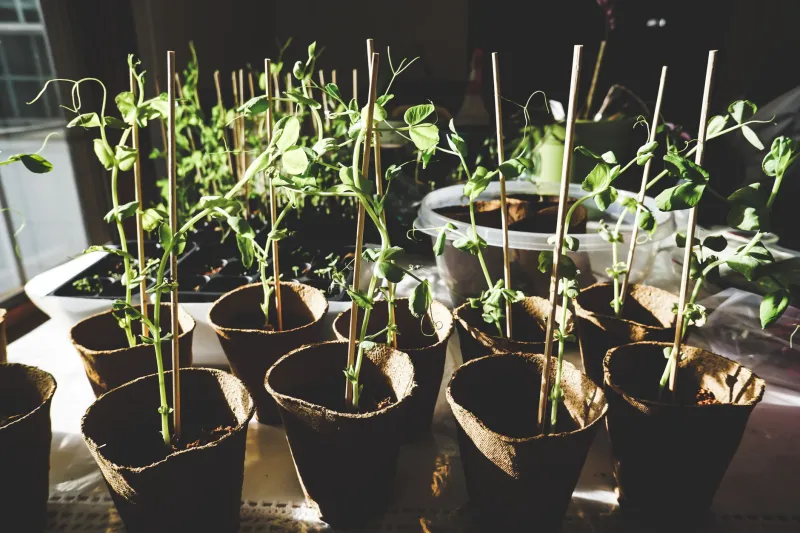
The Dark-Sill Green: A Bag of Dried Peas and a Pre-Christmas Garnish
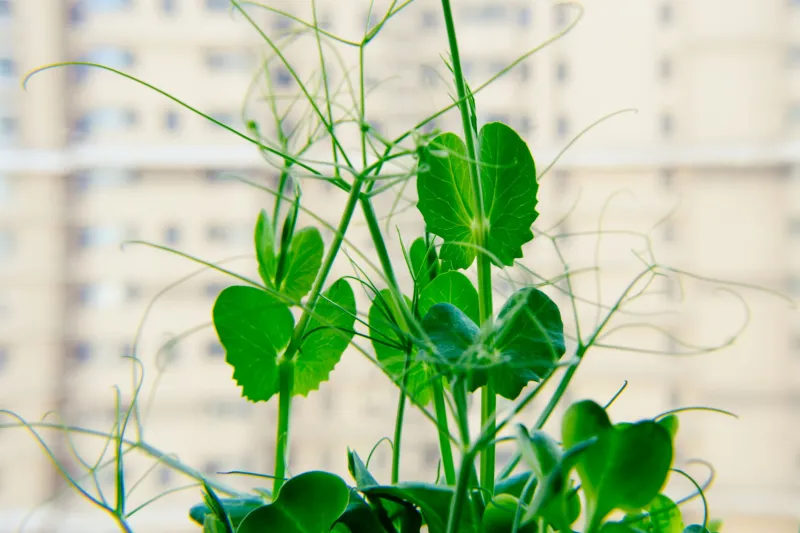
There is a particular kind of November grey that settles over a north-facing windowsill. It is not dramatic. It is just dim, a bit damp around the edges, and utterly unconvincing if you are a packet of basil. But it is exactly the sort of place where a handful of dried peas can quietly turn into the greenest thing in your kitchen before Christmas.
This is not a complicated project. It is the sort of thing that fits neatly into the gap between putting the kettle on and forgetting why you went upstairs. It is also a direct descendant of the lockdown approach to gardening: use what you have, spend almost nothing, and become absurdly attached to something growing in a plastic tray.
Why peas, why now
By November 2026, most small-space growers are in a holding pattern. The balcony pots are soggy, the light is thin, and the seed catalogues are already whispering about spring. Pea shoots are the cheerful exception. They do not need full sun, they do not need deep roots, and they do not need you to own a greenhouse or a heated propogator.
A bag of dried marrowfat peas from the supermarket will set you back about 99p. You are not growing pea pods. You are growing the tender top shoots, which taste like peas but greener and fresher, and which make a festive sandwich or a Christmas dinner plate look like someone made an effort. Sow them in early-to-mid November and you are looking at a cutting harvest in roughly three to four weeks. If you are reading this on 10 November, you are bang on time.
What you actually need
A shallow tray is the main thing. An old grape or mushroom punnet is ideal, as long as you wash it and poke a few drainage holes in the bottom. A supermarket plastic tray with a clear lid is even better, because the lid helps germination and then becomes a useful drip catcher later.
You also need a small bag of multipurpose compost, a jug of water, and the peas. Dried whole peas are what you want, not split peas. Marrowfat peas work well. So do dried garden peas if you have a bag lurking at the back of the cupboard. This is not a gourmet seed purchase; it is a pantry raid.
The soak that does the heavy lifting
Tip the peas into a bowl and cover them with cold water. Leave them for twelve to twenty-four hours. They will swell up, look slightly alarming, and roughly double in size. This is normal. Drain them, rinse them, and try not to eat too many before they reach the tray.
Soaking is not optional. Dry peas take ages to wake up, and in a dim November kitchen they can sulk into mould before they sprout. A good soak gives them a head start and makes the whole thing feel less like a gamble.
Sowing densely, not delicately
Fill your tray with two to three centimetres of compost and firm it gently. You are not making a seedbed for prize vegetables; you are making a dense little lawn. Scatter the soaked peas fairly close together, leaving just enough space that they are touching but not piled on top of each other. Cover them with about a centimetre of compost and water gently.
Put the lid on, or cover the tray with a piece of cardboard, and leave it somewhere reasonably warm for a few days. A kitchen windowsill is fine. A cool spare room is fine. You are aiming for around 15 to 20C, not tropical heat. Check daily, because once the first pale shoots push through, they want light.
The mould problem and how to dodge it
Mould is the main reason these trays fail. It usually comes from two things: too much water and not enough air. Once the shoots are up, take the lid off for good. Water from the bottom by standing the tray in a shallow bath for a few minutes, then letting it drain. Do not leave the tray sitting in water.
A north-facing windowsill can get condensation on the glass. Wipe it down when you remember. Do not mist the leaves. Pick out any peas that have gone soft and brown before they spread. And give the tray a quarter turn every day or two so the shoots do not lean permanently towards the window like commuters on a train.
The daily check-in
This is the bit that makes the project worth doing. For three weeks, you have a small reason to look properly at something. The shoots come up pale, then green, then suddenly tall. One day they are barely visible; the next they are flopping over the edge of the tray like teenagers. It is a tiny, ridiculous ritual, but it is a good one in the darkest part of the year.
Keep the tray close to the glass but away from radiators. If your windowsill is very cold, bring the tray in at night and put it back in the morning. Pea shoots are tougher than basil, but they are not frost-proof. If the light is really poor, they will stretch a bit. That is fine. Stretched shoots are still edible, just more dramatic.
Harvesting before the big day
Start cutting when the shoots are around eight to ten centimetres tall. Use scissors and cut just above the lowest set of leaves, leaving a little stump. Many trays will give you a second, smaller cut a week or so later. Rinse the shoots, pat them dry, and use them straight away. They are excellent in a Christmas sandwich, scattered over roast potatoes, or folded through a bowl of hot soup when you want something green without opening a plastic bag.
The balcony may be dormant. The seed tin may be full of promises. But a tray of pea shoots on a dark windowsill is a proper little harvest, and it costs less than a coffee. Lockdown taught a lot of us that growing does not need to be grand. It just needs a bit of patience, a bit of light, and someone nosy enough to check on it every morning.